Thursday, December 15, 2011

Hand Made for Christmas.......

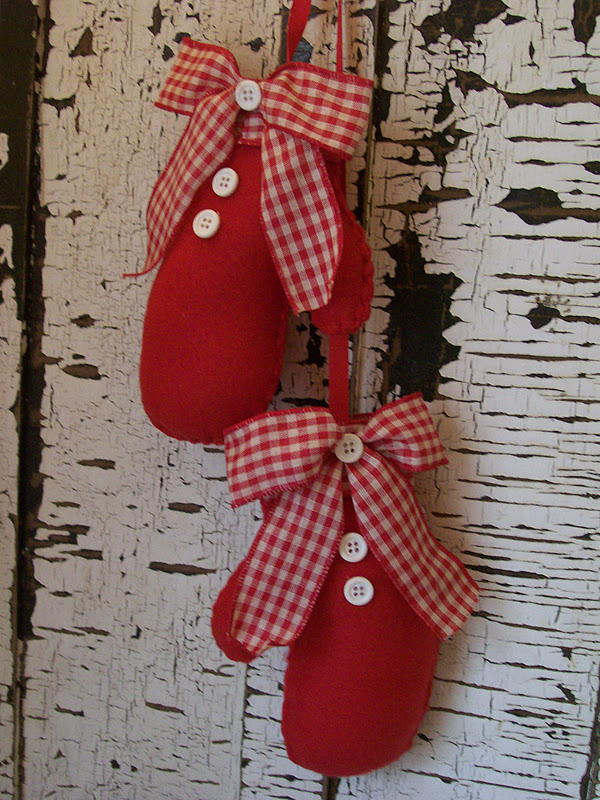
Even though I'm only semi-crafty, over the past years I've made some of my Christmas decorations.   I'm lucky enough to have a very crafty sister and a couple of friends who are amazing.  When my "Crafty" friend, (CF), and I would be out shopping and see something really cute, she'd say "don't buy that, we can make it"! (You all know how that is)!  If you've seen some of my posts, you know I cannot SEW but my CF did teach me one important stitch, the blanket stitch! Even though I was very skeptical of my ability to master it, she assured me that if Girl Scouts and Brownies could do it, so could I!  After many failed attempts, she was right and it's now my one and only "sewing" skill and I have found it quite handy!  My favorite thing to make with it is Mittens, Stockings and Snowmen. I have made quite a few over the years and even sold them in my shop. I showed these last year but thought I'd post them  again for those who might have missed them.   I also enjoy doing x-stitch and here are a few examples of past Christmas projects. 
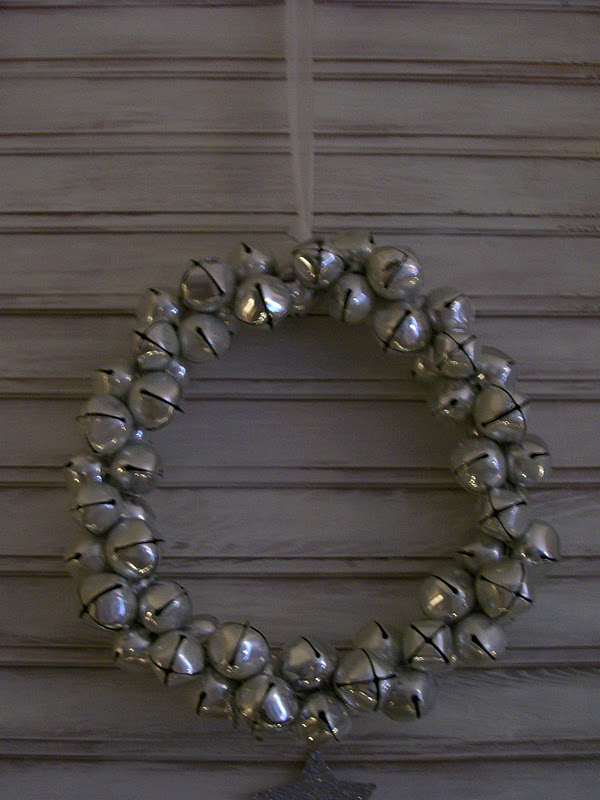
(Sorry, the ornaments turned out blurry, but no time to redo)!


Here are the steps to make any of the above.
1.  for pattern,  draw or trace any mitten, stocking, snowman shape, you like on paper, etc, or, I use a gift box because it's stiffer and easier to trace around on the fabric. Snowmen can be any funky shape
you like, the funkier the more fun!
2.  the fabric I use is the good, soft felt, the white is quilt batting that you buy by the yard,  Pin patterns on fabric, then  either cut out or draw around pattern with vanishing fabric ink ,then cut,  fold fabric in half
to cut 2 mitten pieces at once.
3.  lay 2 pieces together, starting at top of 1 side and them stitch around to top of other side. (you can
use any stitch or sewing machine must turn inside out and sew if on machine) When making snowmen
leave top of head open and sm opening on each side for twig arms.
4. stuff inside with poly fill or stuffing of your choice.  When doing snowmen, pour in enough dried beans 
(or your choice) before stuffing to make stable so will stand up once finished.
5.  once stuffed, take your choice of ribbon, cut to desired length to use as hanger,  for mittens,  hot glue one end to inside back of mitten for hanger, make sure thumbs are on the inside,
 when second mitten is done, glue other end to inside of top of it.
for snowmen, once stuffed, sew all the way around, leaving sm openings on each side for twig arms, or
if ornament, leave head opening open.
6.  once sewed and stuffed, hot glue tops of mittens and stockings closed.  Then hot glue on embellishments
of your choice to decorate.
7.  For snowmen, once stuffed either hot glue or stitch opening used for stuffing closed unless making a
ornament, then glue ribbon hanger in before closing.  Take twigs of your choice, cover ends lightly
with hot glue and insert into openings left on sides for arms.  Glue closed if needed.
8.  Decorate snowmen as you like.  I used snaps as the eyes, the small pointed end of a toothpick, cut
off to desired length and dipped in orange paint for nose.

They are really simple and almost mistake proof.  These can be made any size, big or small for decorations or ornaments to hang on your tree.
If you have any questions, leave me a comment with your e-mail address and I will get back to you.

Till next time.....
Rebecca

I'm parting at:


Monday, December 12, 2011

Christmas in the Cabinet.....

Christmas is the best time of year and decorating for it is so fun! Here is a bit of Christmas in my cabinet!
This first pic is for all you coffee drinkers out there! When I started photographing my cabinet, I didn't think about the coffee sign behind my deer. Once I downloaded it and saw that it looked like my deer was carrying the coffee cup, I thought it was kind of a cute!


For those of you who like gingerbread.....


My gingerbread dolls I got at a little shop in WI. , the garland and GB house I got on sale at Cracker Barrel,
the little critters came from PB, my sister gave them to me last year for Xmas, the sm pitcher came from the flea market, $3.00, the merry Xmas ornament from the Gathering show for $1.00 (it's exactly like the first ornament my Mom & Dad bought for their 1st Christmas tree),  the dome, $1.00, vintage ornaments, .50 each from yard sale,  vintage deer, (head comes off, hollow inside) from a mall, $5.00, Xmas pillow, .50 from yard sale,  Santa plate .50 from a church sale, snowman on sale after Xmas from Target, red box they are in, from yard sale, $1.00.

Till next time.....
Rebecca

I'm partying at:


Monday, December 5, 2011

Christmas Mantle........

My mantle is finally decorated for Christmas!  I did it a little different this year and I like it but I'm kind of missing my more rustic look with my reindeer and woodland Santa.  I'm going to leave it this way this year and try to get used to the change.  Change is good right?  It's not that I don't like it, I do, it's you know, just different!  Here are the photos.


The 2 white snowmen, I made.  I've made a lot for gifts and to sell.  They are fun and easy, and  if you know me, you know I can't sew! They are put together with a simple blanket stitch and the rest is all hot glue.
The white curved shutter is a find from one of our old dealers that I got for $5.00 and painted.
The gray pallet behind it is a Watertown find that I got for $5.00. It wasn't for sale, just leaning against the wall, I talked the guy into selling it to me, minus the huge spider that was living on the back!  The little snow house in the middle, I won at the Gathering Show a couple of years ago.  They always have drawings through out the day and I actually won something!  The candlesticks I got on sale at Marshall's for $10.00 each and the garland was on sale after Xmas for 75%  off.  The reindeer are from Target, after Xmas on sale of course!  Well, that's my Christmas mantle for this year, hope you all like it!

Till next time.....
Rebecca

I'm parting at:
http://www.savvysouthernstyle.blogspot.com/
http://www.mommahenscoop.blogspot.com/
http://www.fadedcharmcottage.blogspot.com/
http://www.verymerryvintagestyle.blogspot.com/
http://www.thethriftyhome.com/
http://www.nominimalisthere.blogspot.com/
http://www.micheleravendesigns.blogspot.com/
http://www.abeachcottage.com/
http://www.lbratina.blogspot.com/
http://www.inspiredbycharm.blogspot.com/
http://www.firefliesandjellybeans.blogspot.com/
http://www.houseofhepworths.com/
http://www.delightfulorder.blogspot.com/
http://www.thebrambleberrycottage.blogspot.com/
http://www.romantichome.blogspot.com/
http://www.frenchcountrycottage.blogspot.com/
http://www.thecharmofhome.blogspot.com/
http://www.shabbynest.blogspot.com/
http://www.thethriftygroove.blogspot.com/
http://www.sassysites.blogspot.com/
http://www.commonground-debrasvintagedesigns.blogspot.com/
http://www.twenty-eight-0-five.blogspot.com/
http://www.laurieannas.blogspot.com/
http://www.funkyjunkinteriors.blogspot.com/
http://www.barginhuntingwithlaurie.blogspot.com/